Carpet Maintenance Programs – We Didn’t Design Them, The Manufacturers Did
Warrantees are often the determining factor behind purchasing something. Some car manufacturers make it a key selling point; like a certain company’s 10-year powertrain warranty. However, all of them come with conditions and requirements, otherwise people would be driving their cars with reckless abandon, or, in the case of carpets, quickly letting them fall in disrepair until they need to be replaced.
Our carpet cleaning programs are designed based on manufacturers’ warranty requirements, which are necessary to maintain them in optimal condition. This is not based on a single personal opinion or experience, but on the research, testing and results of numerous companies over decades of carpet manufacturing and use.
WHAT DO THE MANUFACTURERS SAY?
The main focus of carpet warrantees are high traffic areas. This is key – we’re not talking about the carpet on the bottom of your living room closet, or the spare room where Auntie Frieda and Uncle George go once per year but is otherwise unused, we’re talking about the carpet that gets walked on every day by multiple pairs of dirty feet. This is the lobby areas of buildings, the stairwells, the hallways. They take a beating, and need to be cared for in order to ensure the best lifespan of the product.
Most warranty requirements have 5 mandatory elements:
1) Entrance Mats: must be placed in order to reduce the amount of dirt tracked in. They are very effective at reducing the amount of debris brought into carpets.
2) Regular Vacuuming: to remove abrasive debris before it cuts and scrapes the carpet fibers under the grinding action of footsteps.
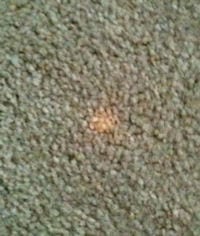
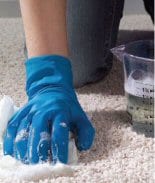
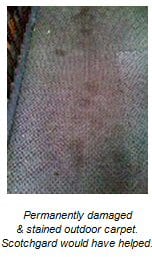
3) Spot Cleaning is essential to get marks out before they set permanently! That requires the right product, applied at the right time with the right method.
4) Interim Maintenance: this can take several forms, but is a required step for high traffic areas in carpet – lighter than a hot water extraction clean, but heavier than vacuuming.
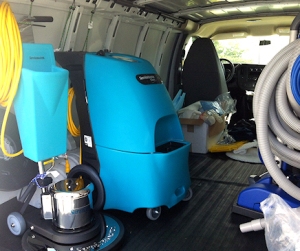
5) Hot Water Extraction: this is the most recognized form of carpet cleaning, also known as steam cleaning or restorative cleaning. It is a necessary step, but not the only step – look at all the other steps that come before it.
Keep your warranty valid. Maintain your investment. Keep your strata clean. That’s the goal and we’re on your side to achieve that result. Don’t let the situation get extremely bad, then try to tidy it up a year later with a hot water extraction clean, expecting that it can and will every time be able to correct a cumulative year’s worth of neglect. That approach doesn’t work. It’s proven not to work. If it did, that’s what would be outlined in your warranty. But it’s not.